Create your own rhinoceros mask
Create your own rhino mask to help to highlight the plight of one of the world’s most endangered animals.
Follow this step-by-step guide to creating your very own rampaging, stampeding, one-of-a-kind rhinoceros mask and share your message of conservation! This easy to follow guide is for anyone aged 12+ but the whole family is encouraged to join in with the fun.
£1 of every mask sold will be donated a rhino conservation group.
Don’t yet have a mask pack? Order one here
Watch this video or follow the steps below to get started
Construct your mask: step-by-step instructions
STEP ONE: THIS IS FLAT OUT EASY PEASY!
- Lay everything out on a flat surface, like the floor.
That’s it, step one complete. You’ve nailed it!

STEP TWO: THROWING SHAPES
- You’ll notice there are some indented fold lines on the mask. Fold these back and forth and get them flexible.
- Gently bend your mask into the rough shape of a rhino using the fold lines. Pay close attention to the forehead and have the mask in your lap facing towards you, can you see the shape?
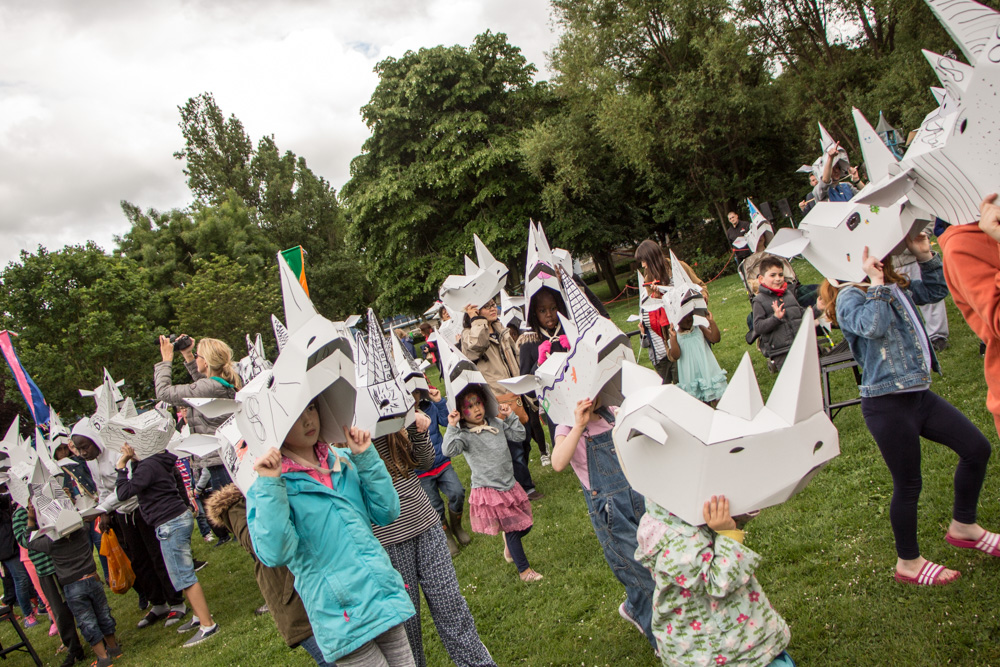
STEP THREE: KNOW YOUR ALPHABET?
- Now we begin to slot the mask together! You’ll notice that all the tabs are lettered and that each tab has a corresponding slot. So, tab A slips into slot A.
- Begin with letters A and B. Technique is key! Gently push the tabs into the slot, then reach inside the mask to pull them through. Go ahead, give it a go! You have letters A – M to complete.

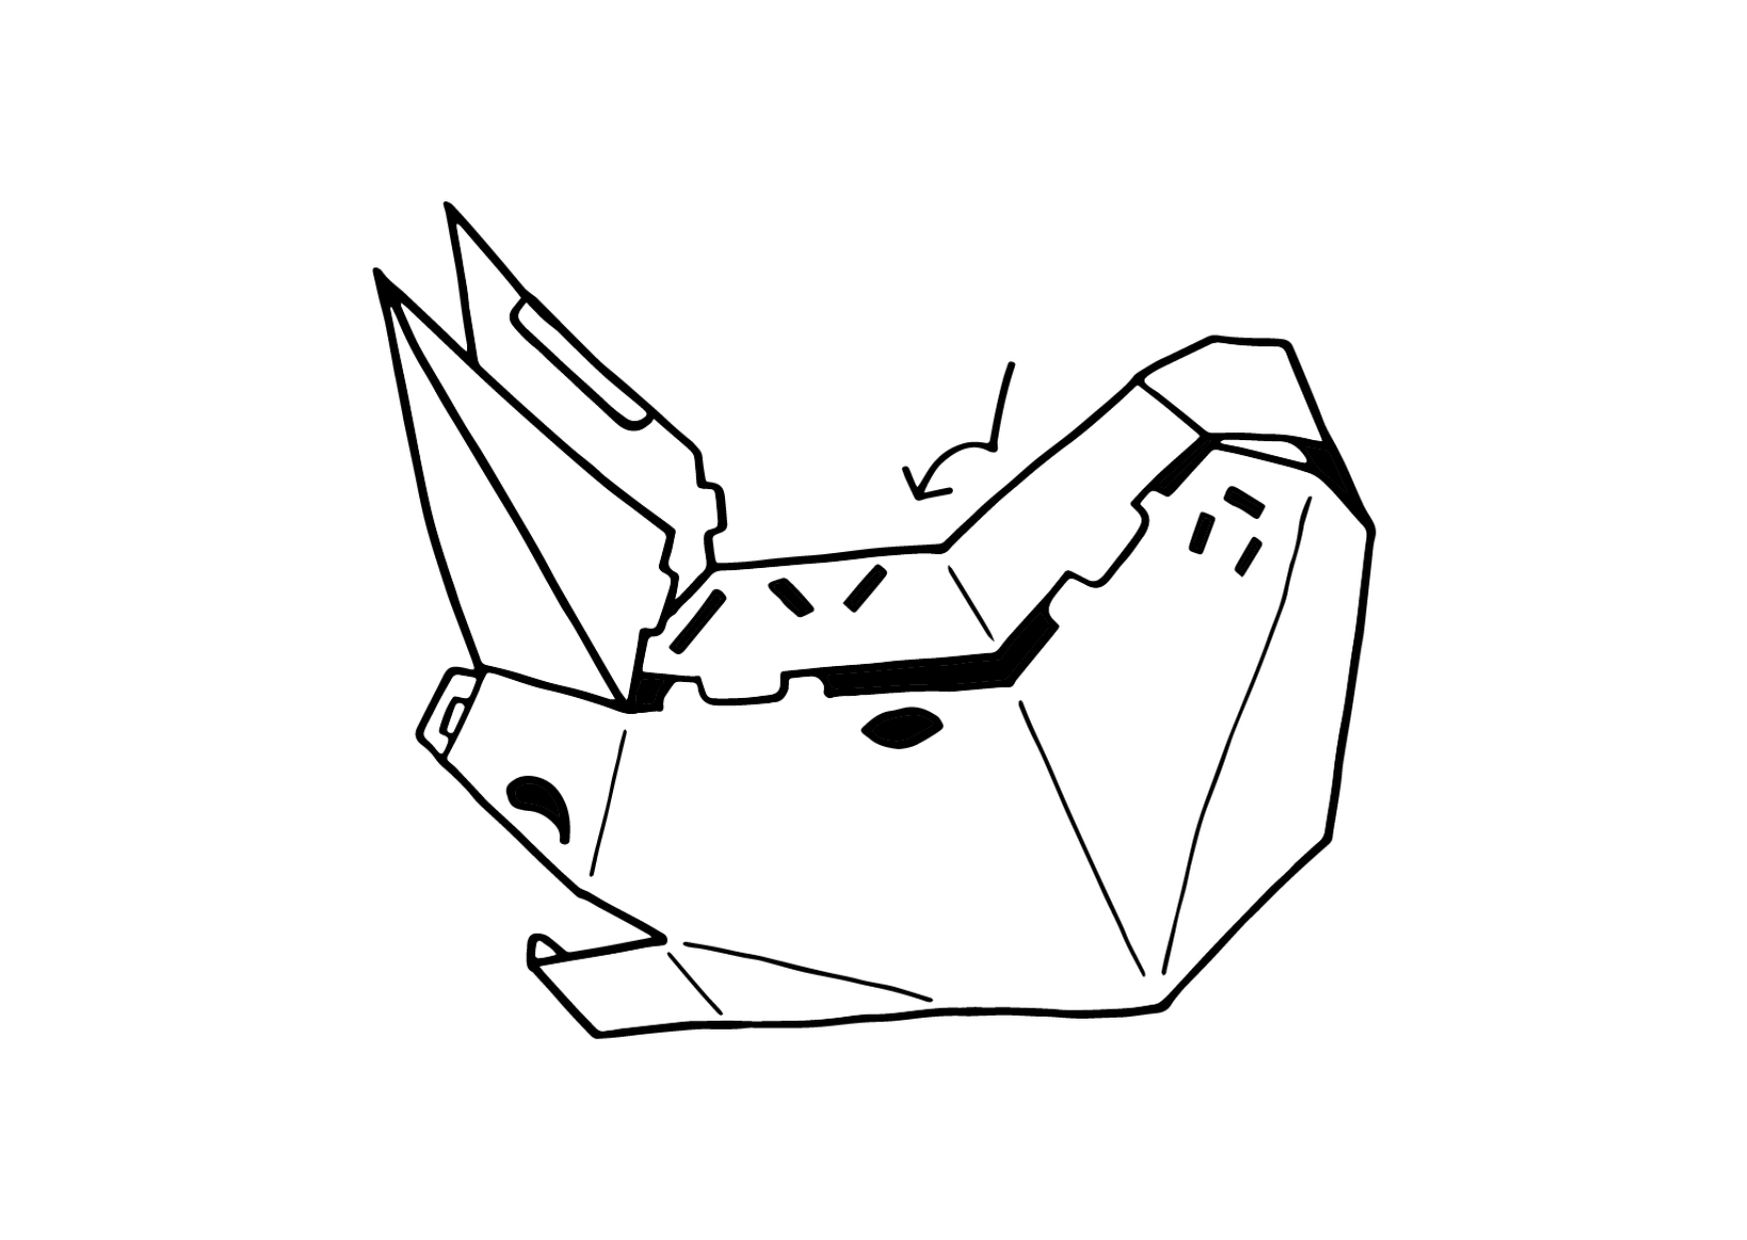
STEP FOUR: HORN TO BE WILD
- Time to add the second horn! This separate horn piece is labelled with N. Go ahead and pop the tab into the slot to see it take shape.
- On the nose of the rhino head, behind the front horn, you will see four slots labelled O, P, Q, R. Fit the central horn into the slots, matching the tabs to the slots.

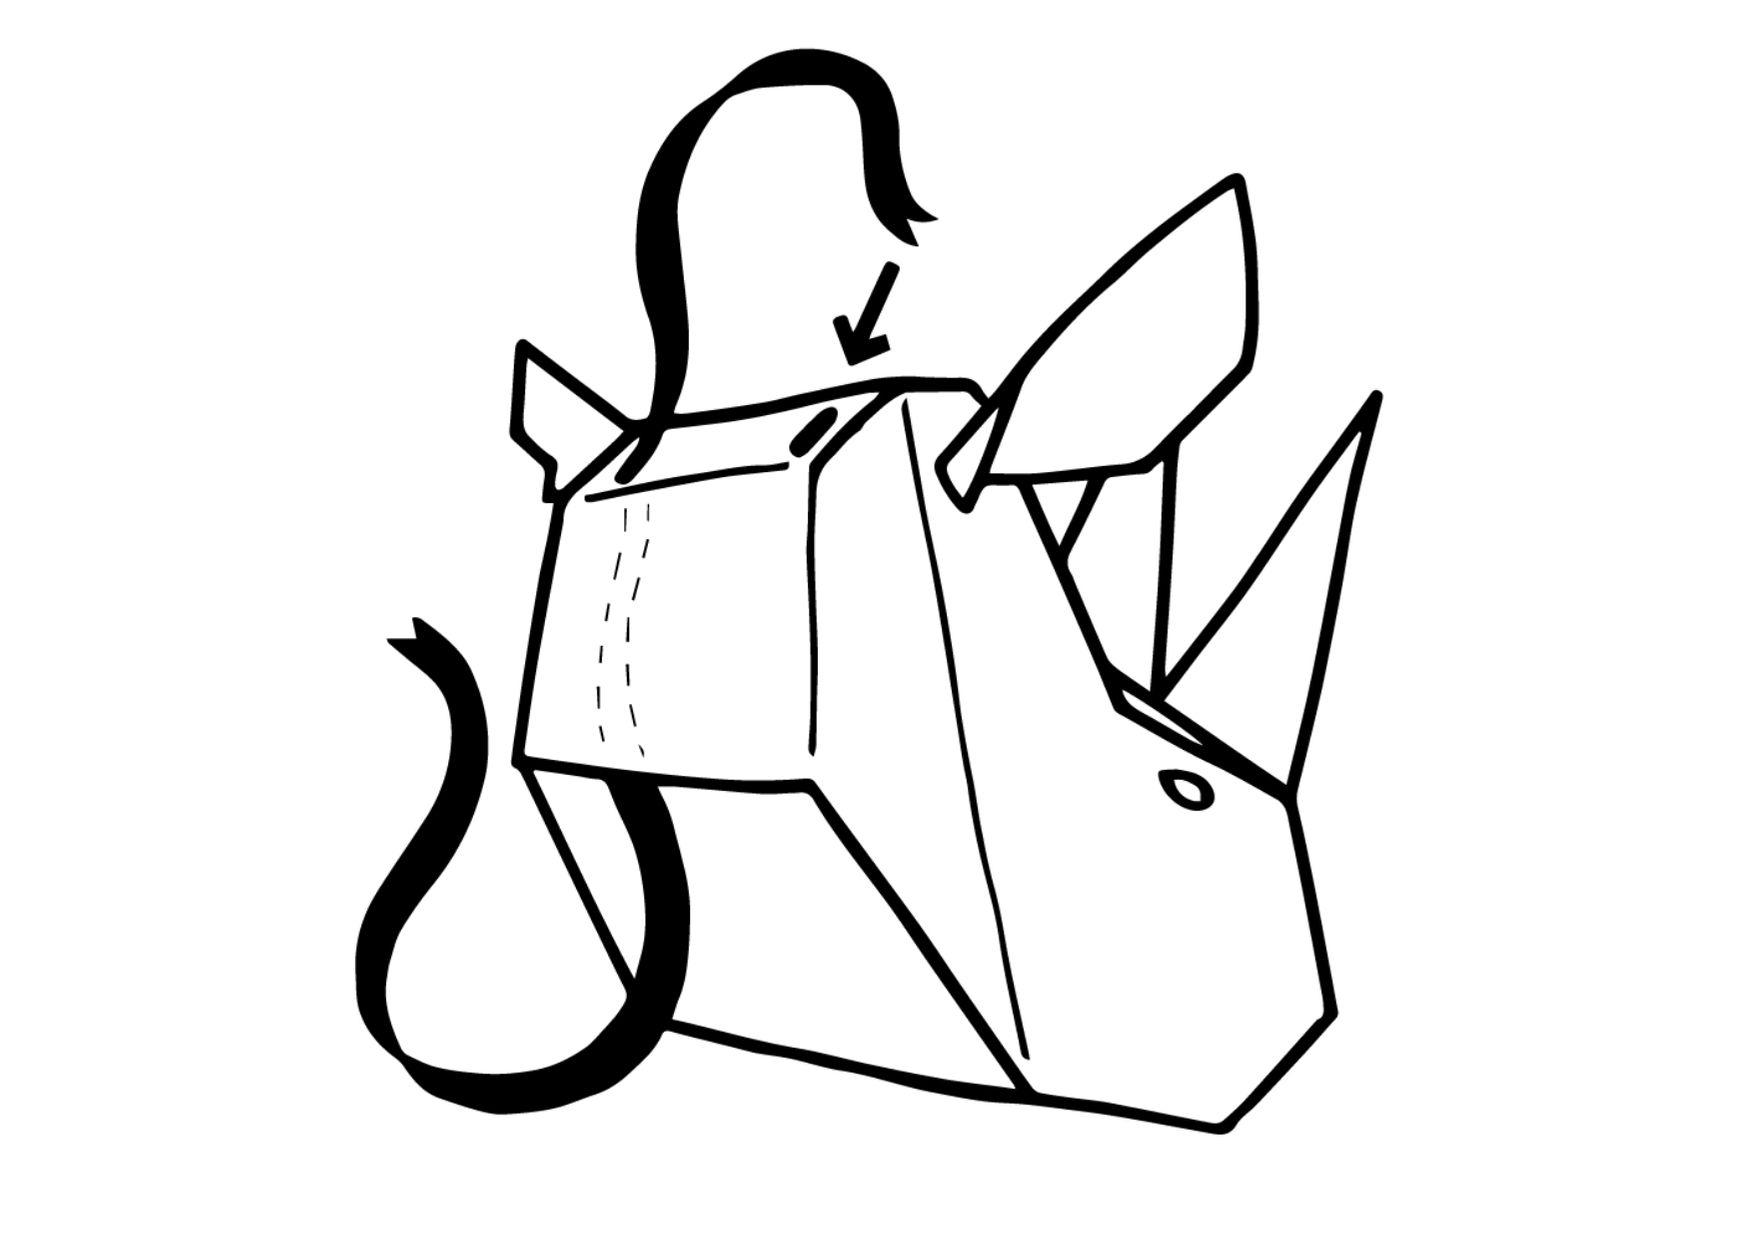
STEP FIVE: WE’RE EAR FOR YOU
You’re n-early there, well done! The last two pieces are the ears. It doesn’t matter which side they go on. So, h’ear we go:
- There are three tabs on the ears labelled S, T and U. These correspond with three slots on both sides of the rhino head.
- Gently half push the tabs into the matching slots. Reach inside the mask to gently pull them through fully. *You’ll find this step easiest if you curl the ears in your hand before slotting in, so each of the three sides are roughly at a 90-degree angle to each other.
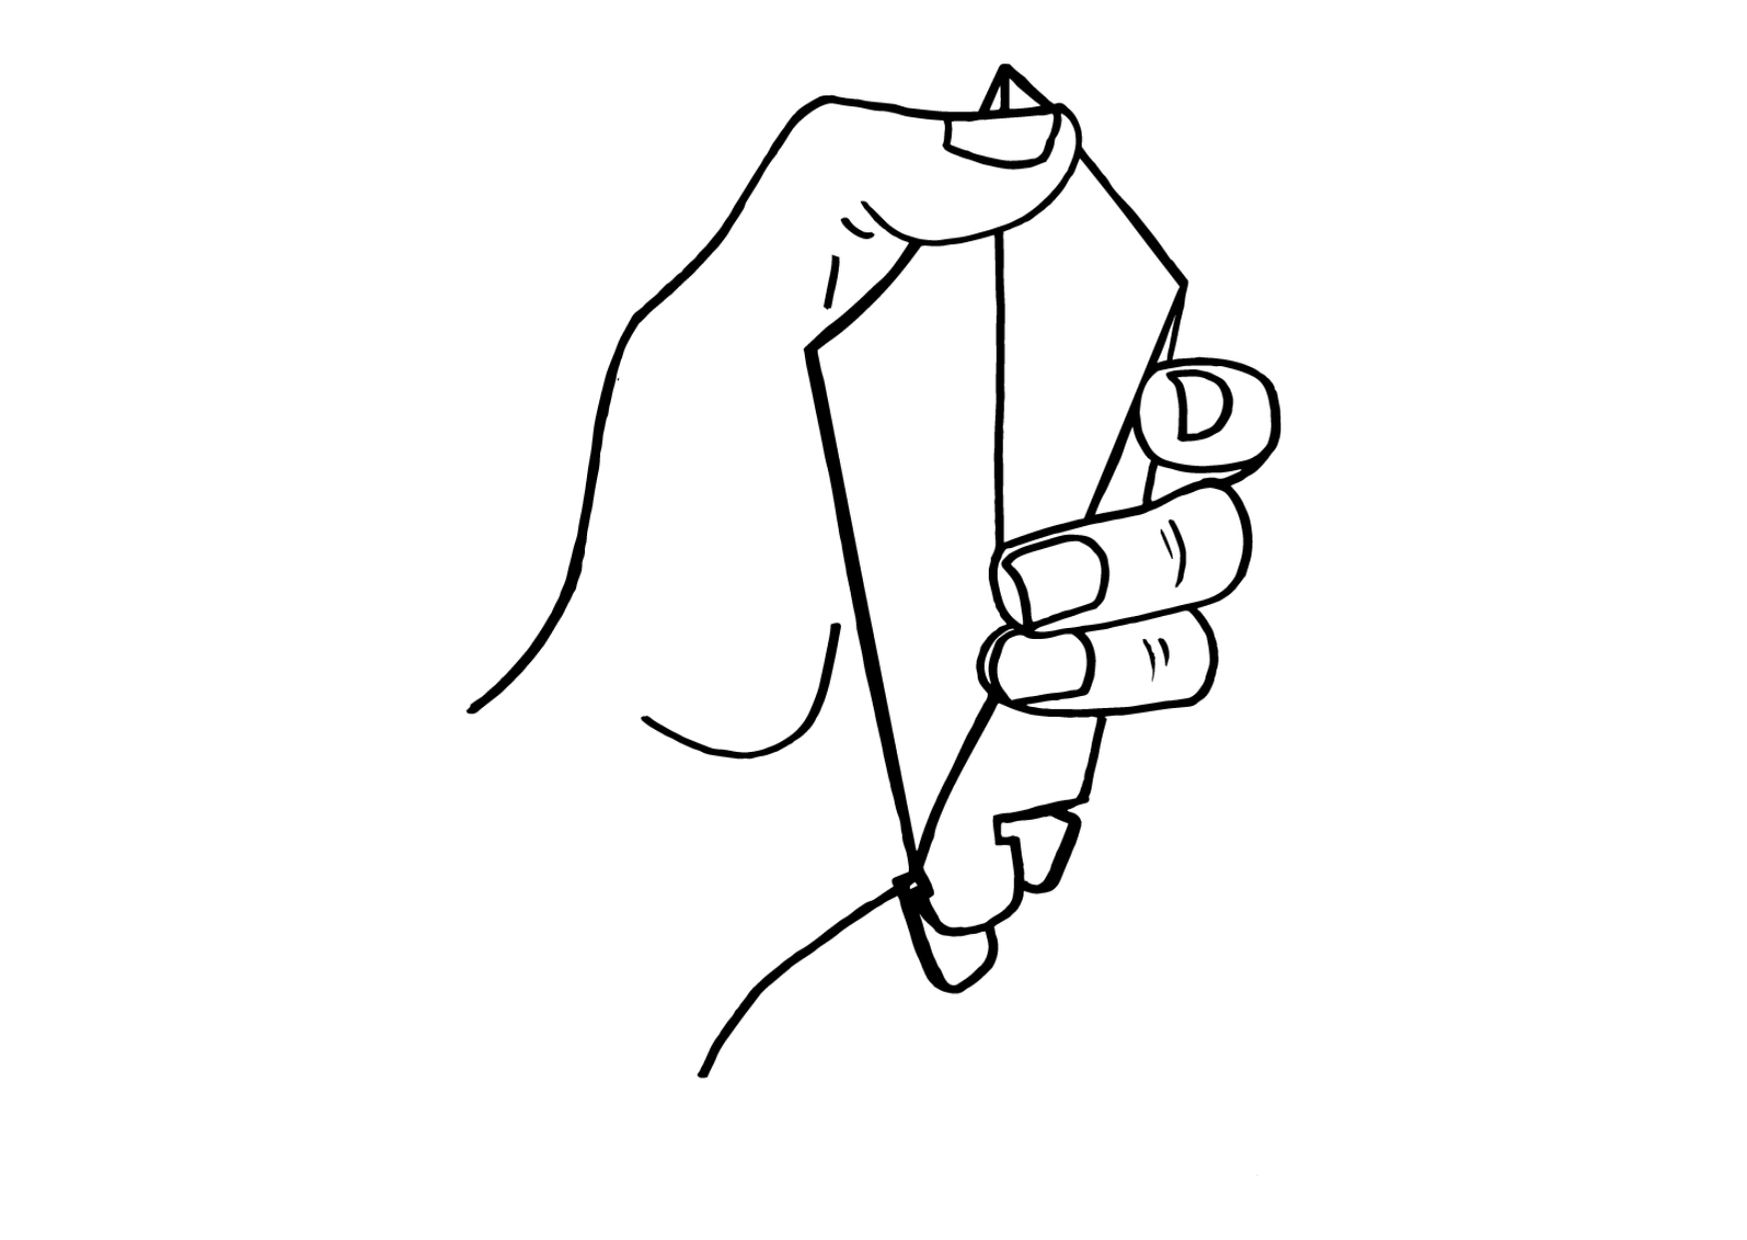
STEP SIX: MASK BUT NOT LEAST
To secure your rhino mask you’ve got to fashion a chin strap. Take your piece of ribbon.
- Insert each end of the ribbon into the slots marked V and W on the top of the mask and pull the ribbon through from the inside until both ends have an even length.
- Pop the mask on and use the ribbon to secure it in place by tying a bow underneath your chin with the ends.
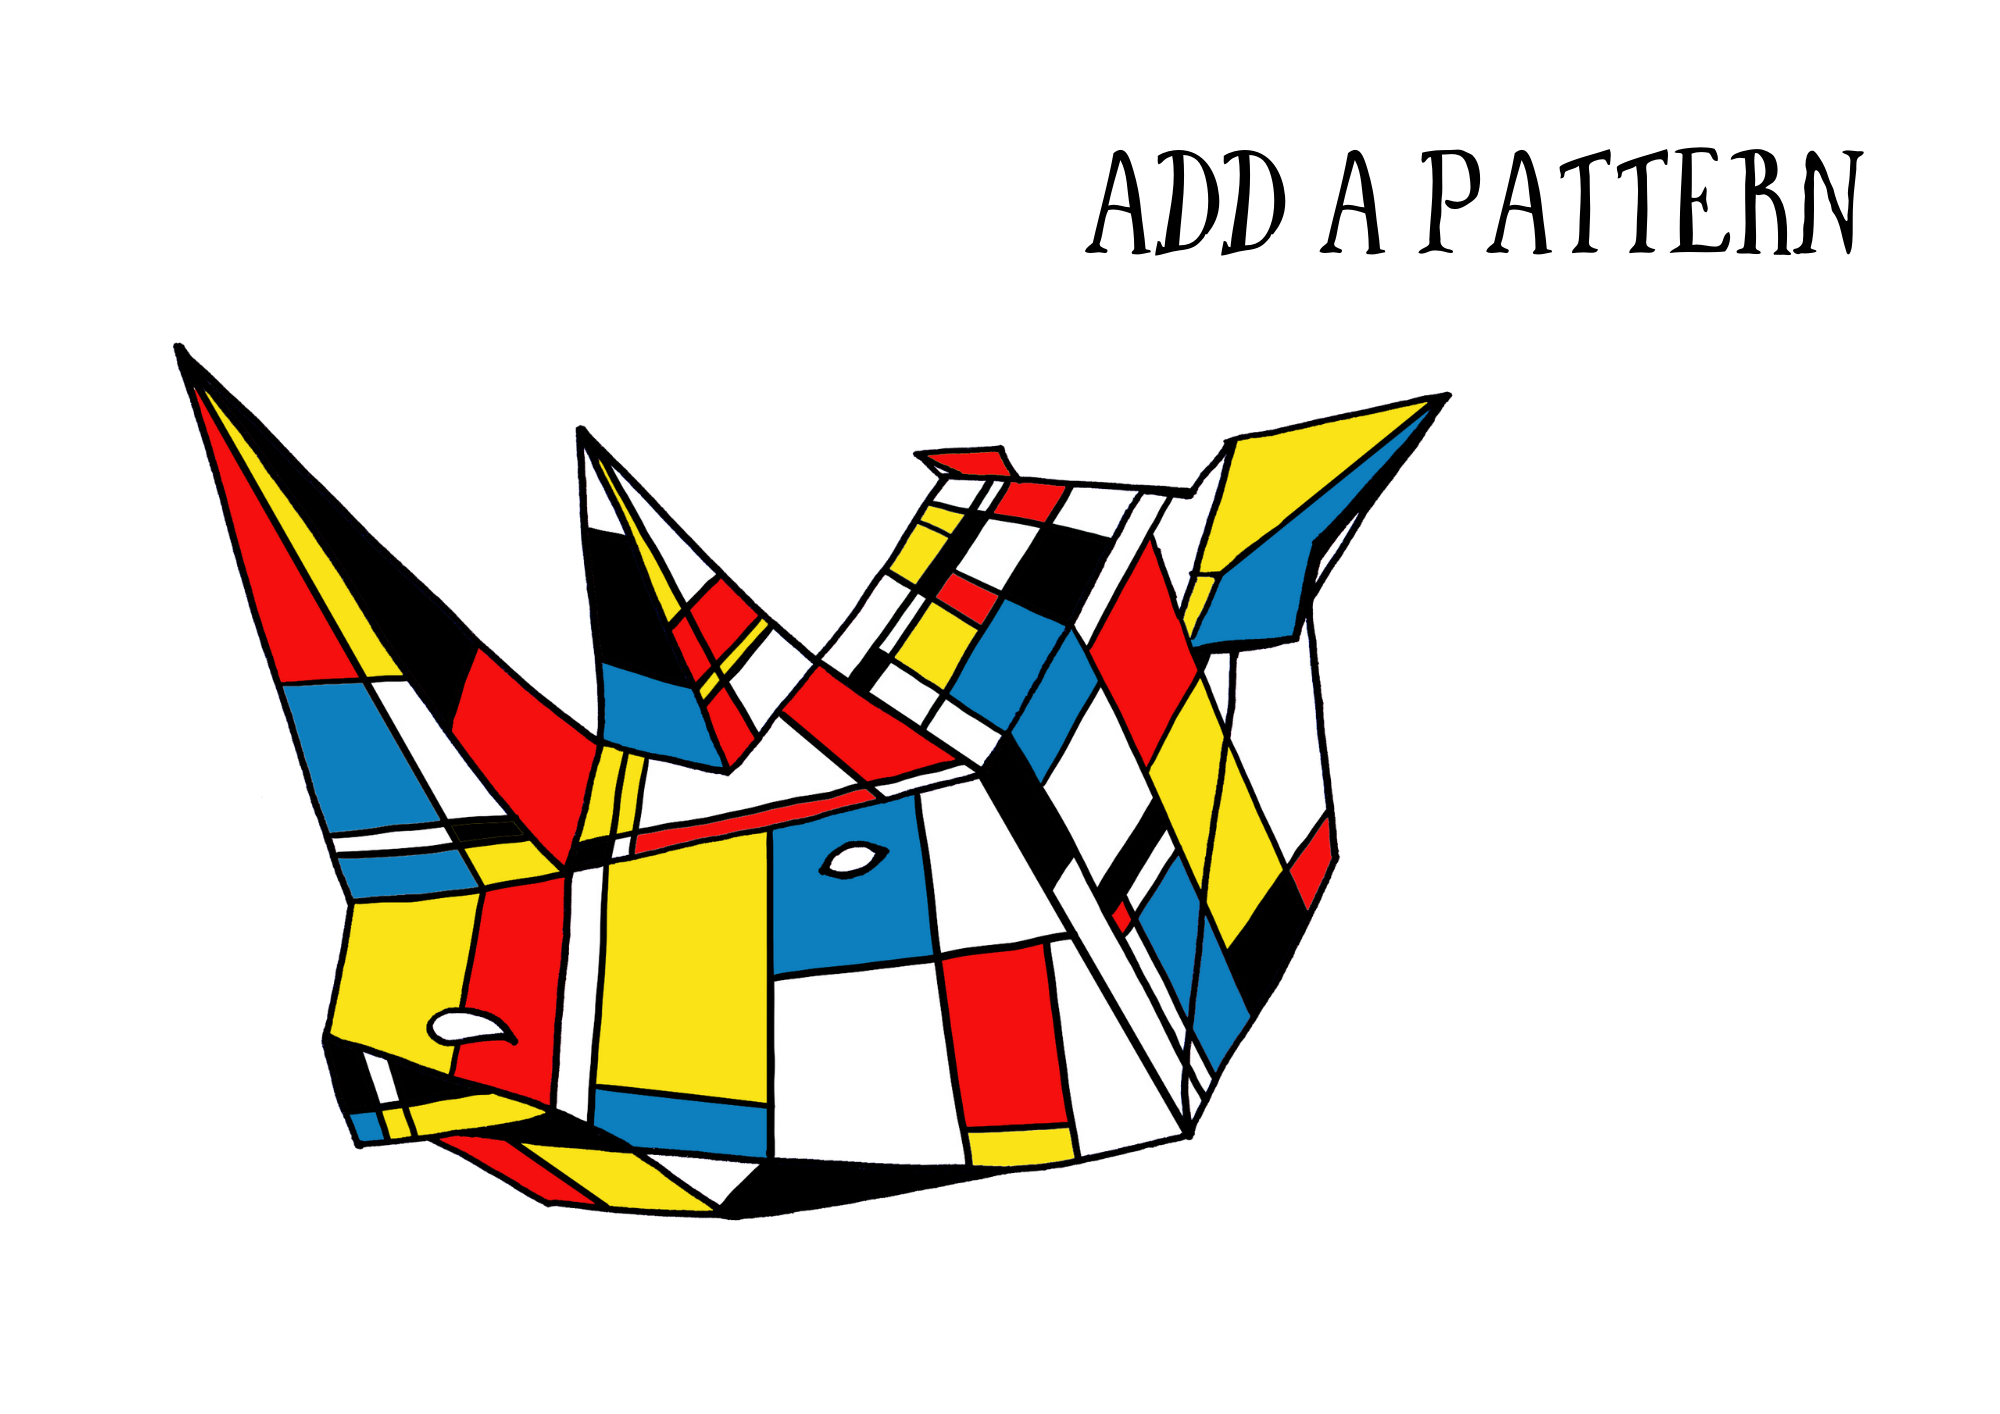
Design your Rhino Mask: Let's Get Creative
STEP SEVEN: LOVE THE SKIN YOU'RE IN
Our artists have created some different examples of what your mask might look like when it’s finished. Use these as inspiration, but don’t be afraid to toot to the sound of your own horn and make your creation uniquely your own – what do you think your mask should look like?


Don’t forget to share your beastly creation with us! Take a picture of your rhino mask and post on social media – remember to tag us @puppetswithguts and use the hashtag #RampagingRhinos


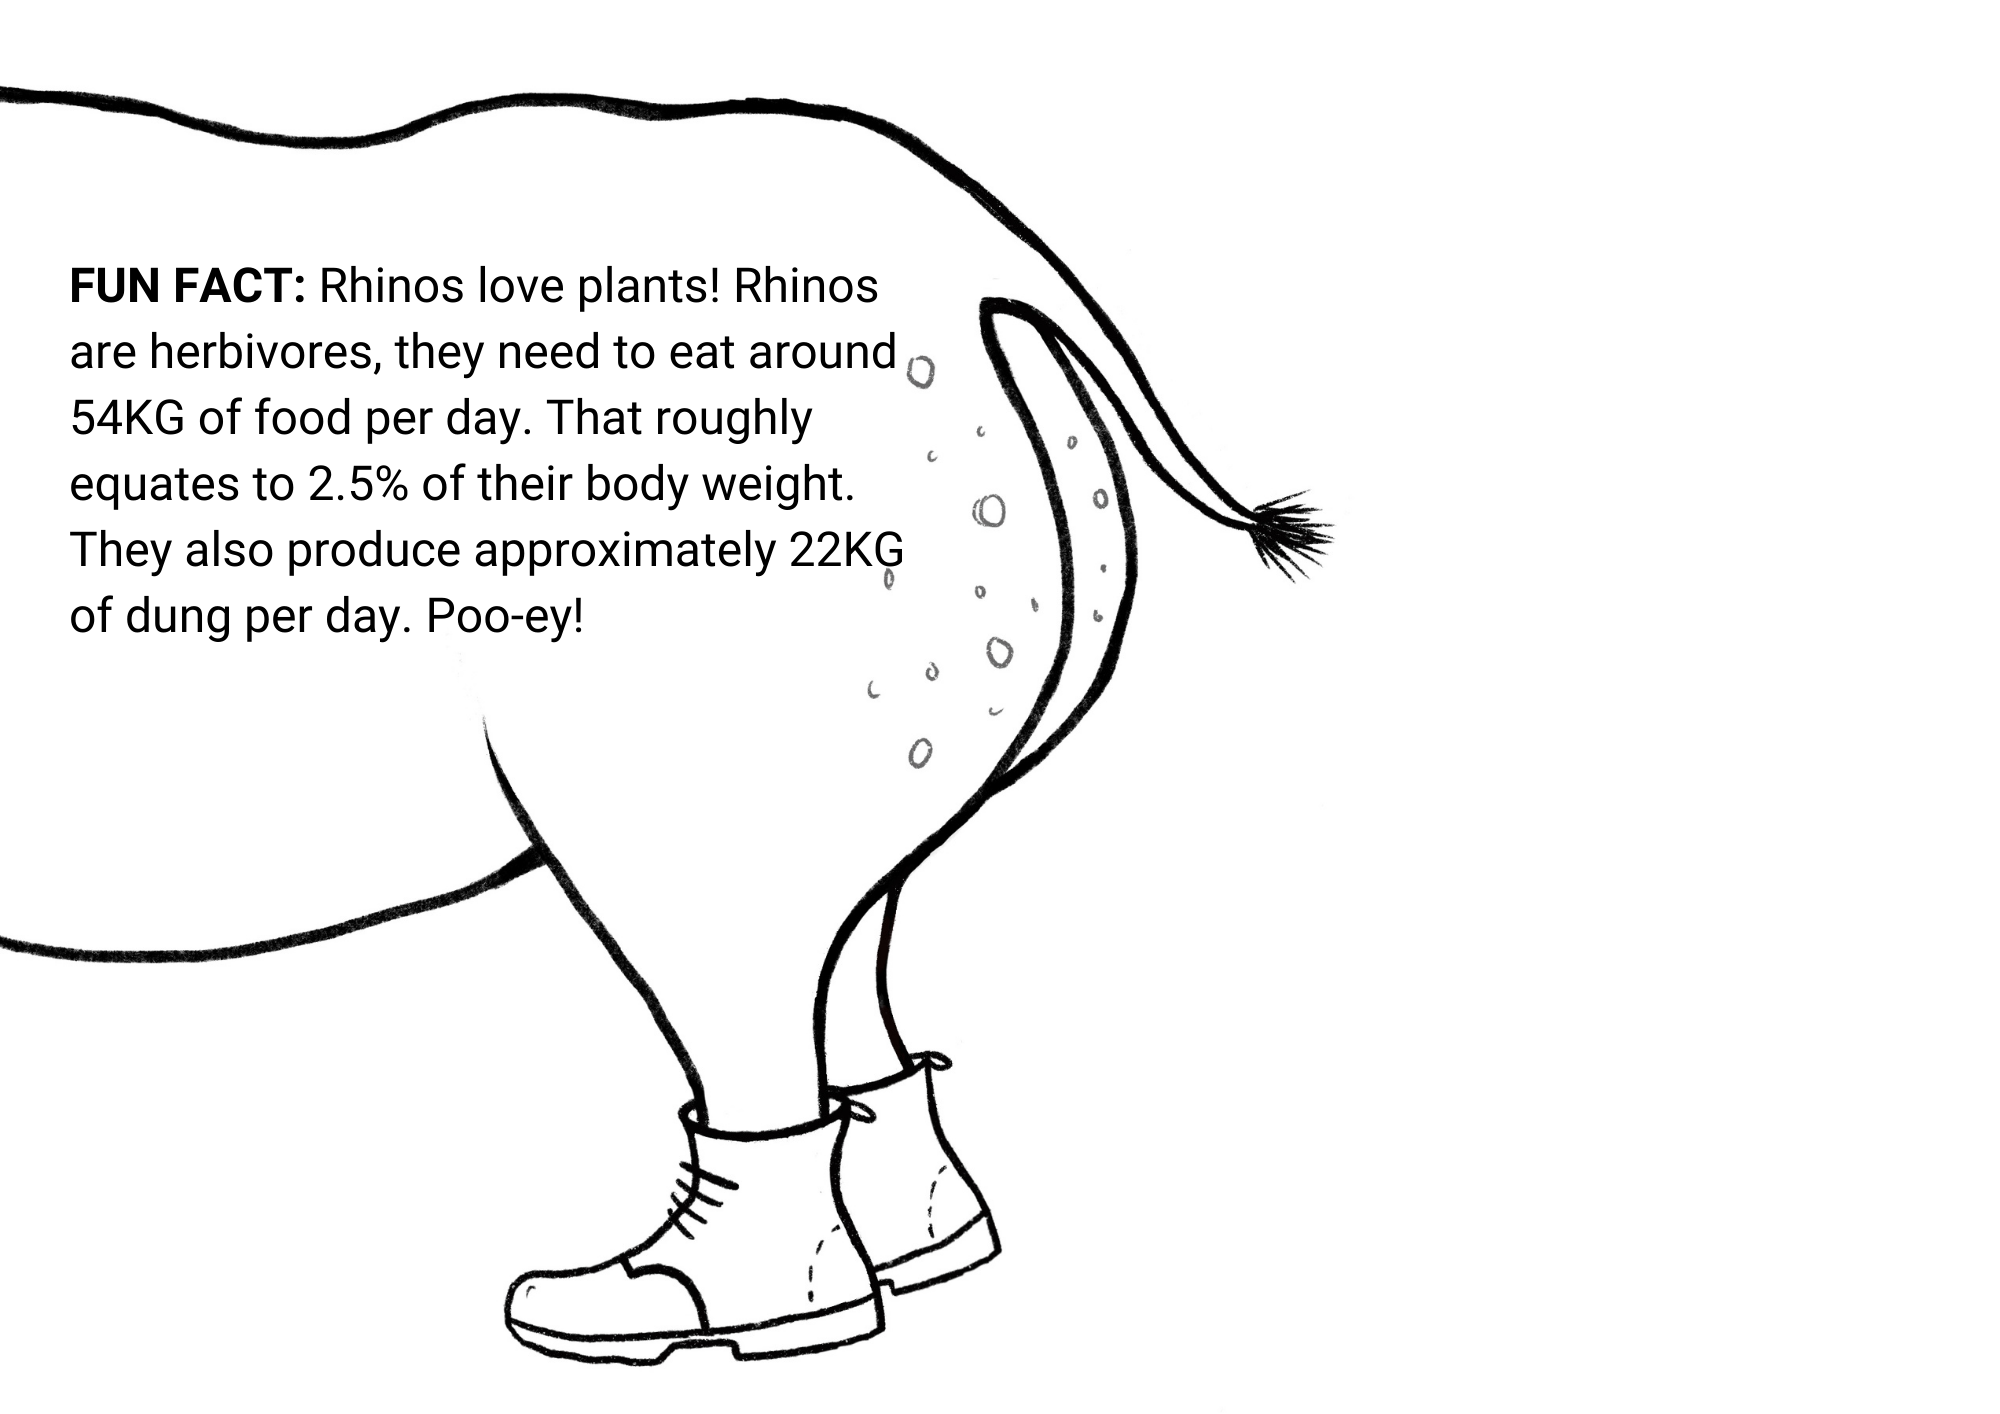
Rhino Conservation
Want to know more about the plight of the rhinos and what you can do to help conserve them?
Check out the wildlife charities below to discover more about how they are working to protect endangered species through scientific research, fundraising, habitat conservation, anti-poaching and animal rehabilitation and reintroduction.


